Solder suckers, also known as desoldering pumps, are essential tools for anyone working with electronics, whether they are experienced technicians or DIY enthusiasts. Learning how to use a solder sucker effectively can greatly simplify the process of repairing or modifying electronic components. This tutorial will walk you through the proper way to use a solder sucker step-by-step and provide helpful advice for the best outcomes.
An effective tool for extracting molten solder is a desoldering pump, often known as a solder sucker. It works well for solder joint repair and desoldering through-hole components on circuit boards. The desoldering pump from Viralloy is used and cleaned according to the instructions in this handbook. Occasionally, a soldering wick may be required to remove any remaining solder residue.
Step 1 :Gather Your Materials
Note: Before you start, make sure you have all the necessary tools and materials. You will need:
-
- A soldering iron
- A solder sucker
- A clean, flat work surface
- A heat-resistant mat or workbench
- Safety goggles and gloves
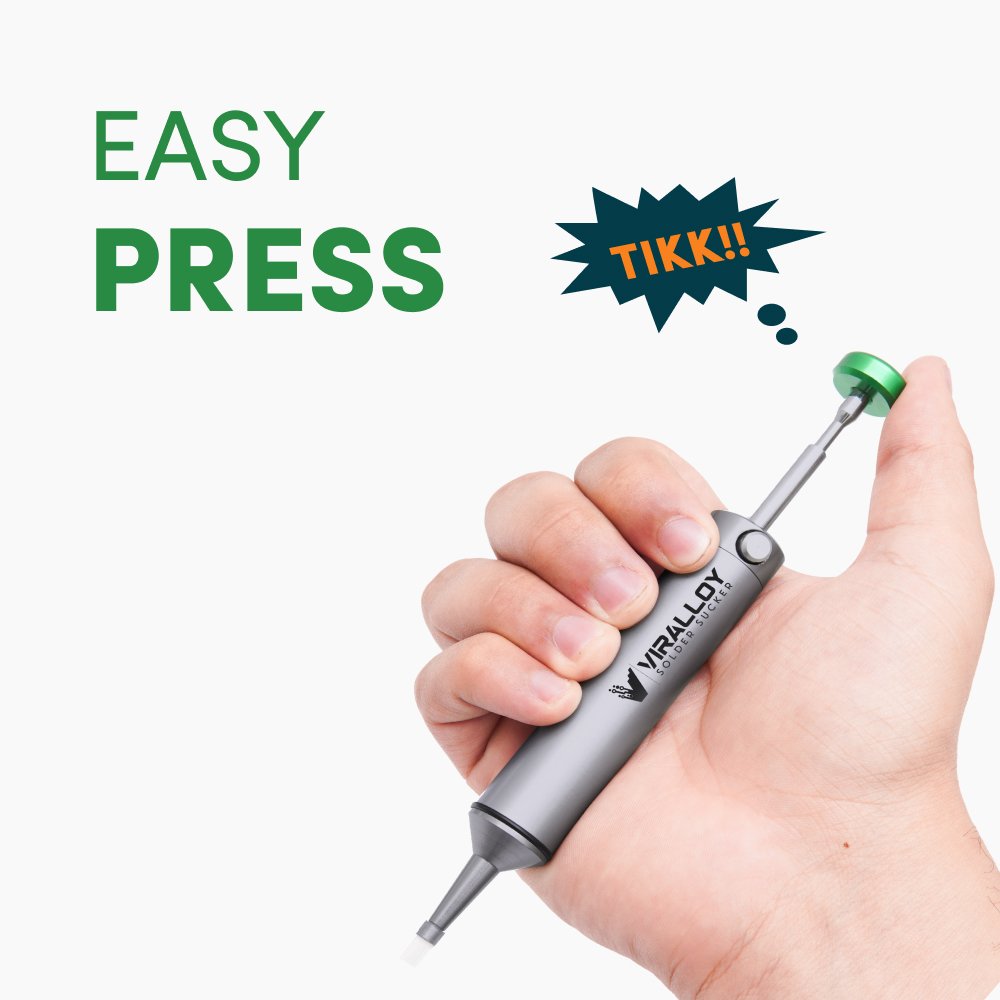
Step 2: Prime the Pump
.

Note: Before using a desoldering pump for the first time, practice priming and activation.
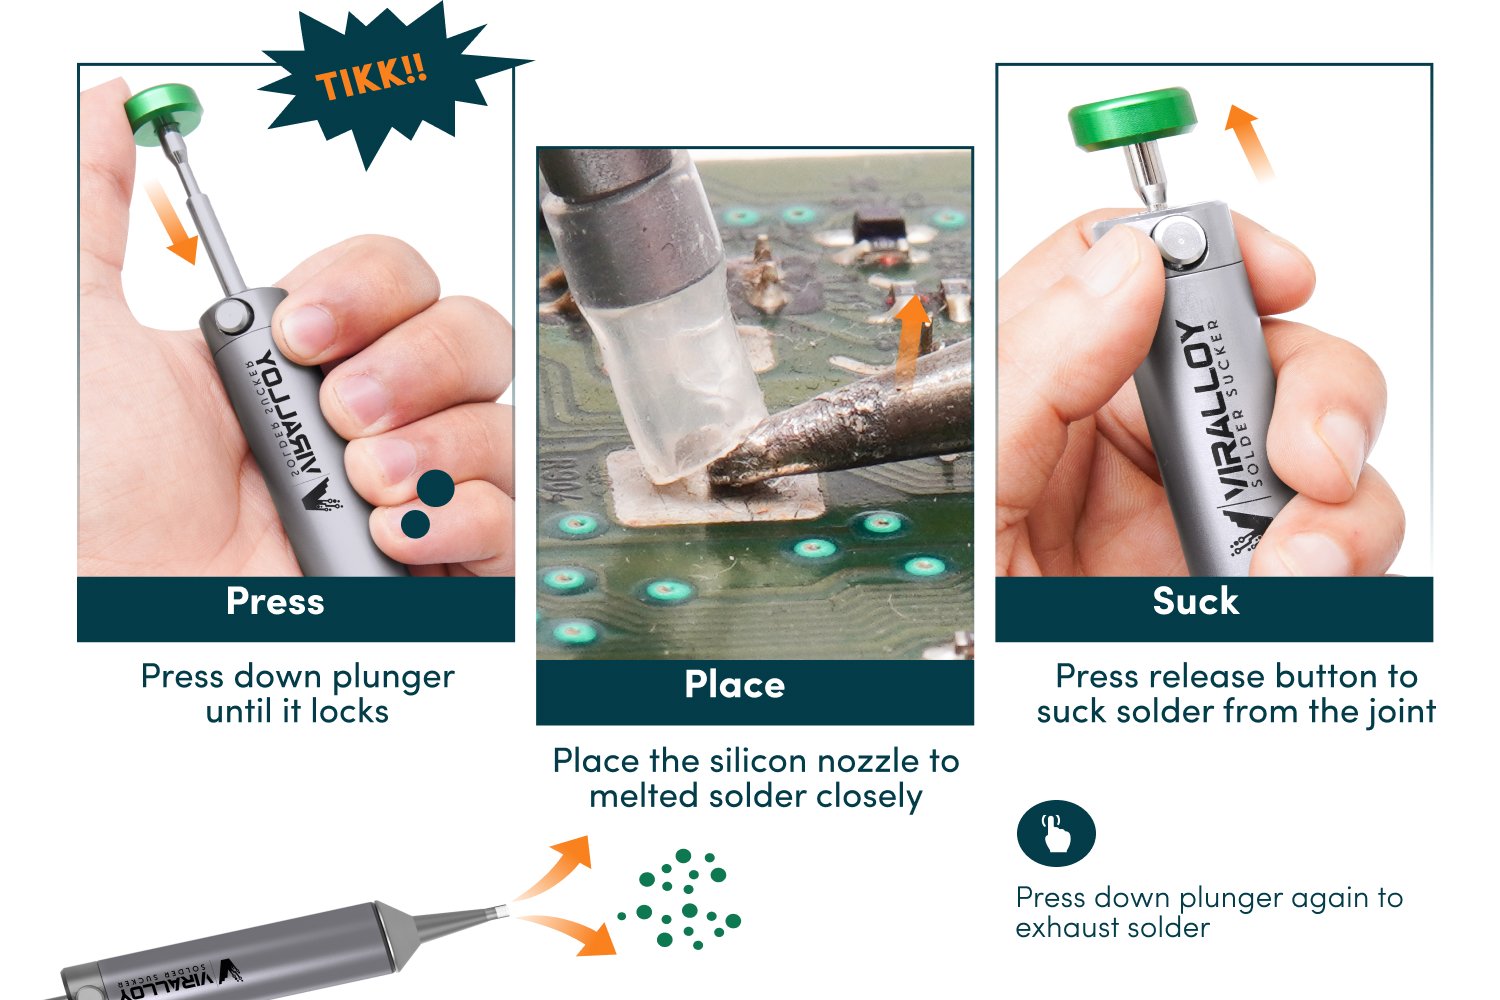
• Using your hand, firmly hold the desoldering pump.
• Press down on the plunger until it locks into position.
Note : This initiates the suction of the spring-loaded piston.
Step 3: Heat the Solder Joint

First, plug in your soldering iron and let it heat up to the appropriate temperature for your work. Once the soldering iron is hot, place its tip on the solder joint you wish to remove. Allow the solder to melt completely. It’s important to apply the heat for just long enough to melt the solder without overheating the component or the board.
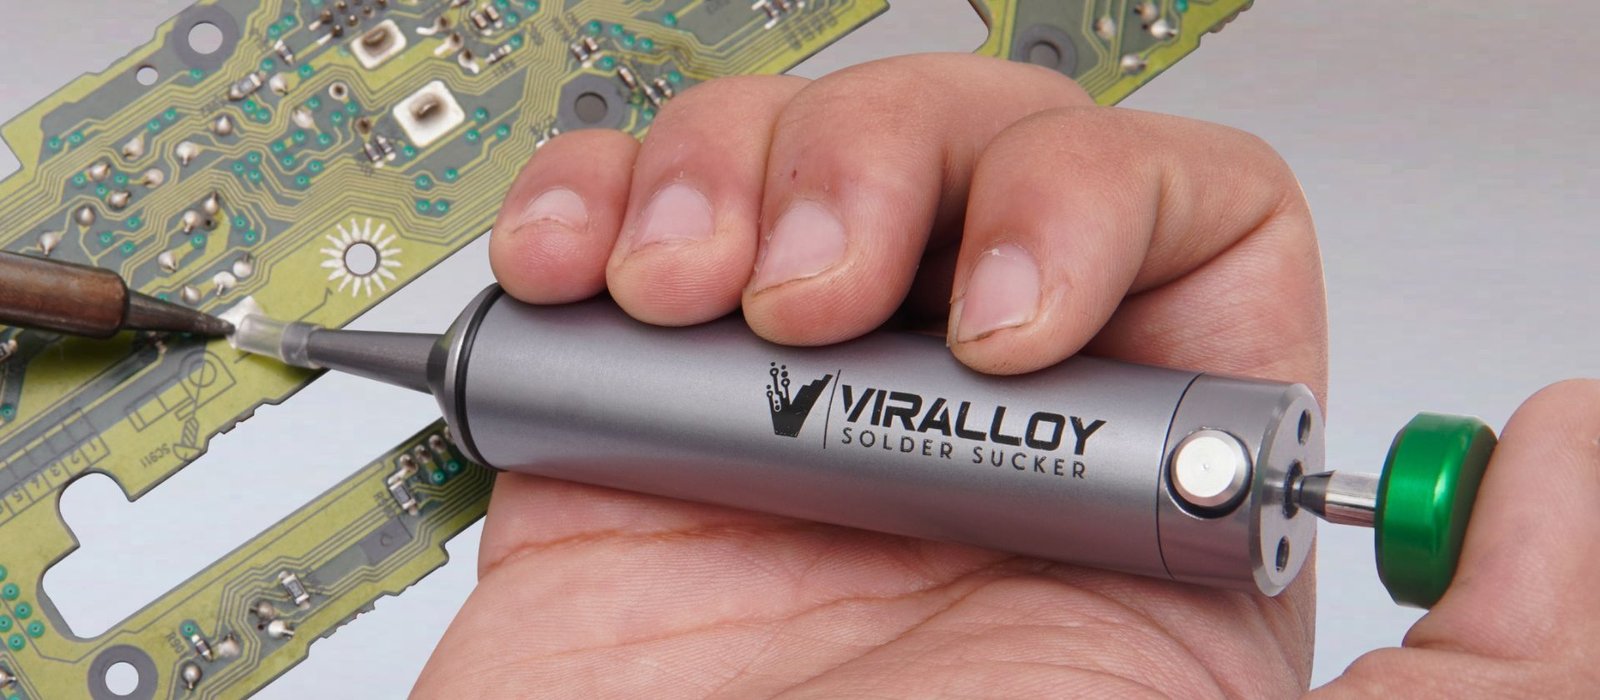
Step 4: Position the Solder Sucker
While the solder is still molten, quickly position the tip of the solder sucker directly over the solder joint. Ensure that the nozzle is as close to the molten solder as possible without touching the component leads or the circuit board.
Step 5: Activate the pump
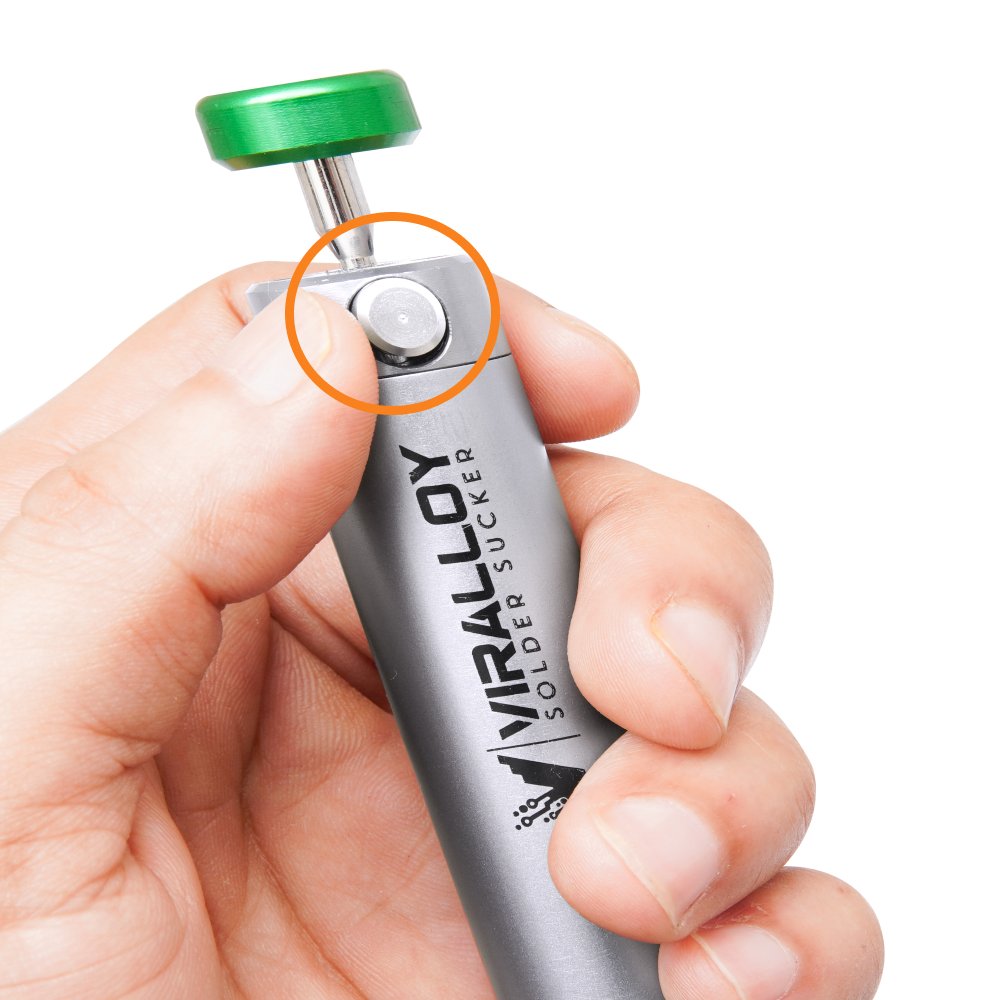
- To activate the pump, press the black side button.
- This releases the spring-loaded piston, which creates a burst of suction at the nozzle.
- The piston release creates a substantial kickback. Brace your hand when you use the pump to keep the nozzle steady.
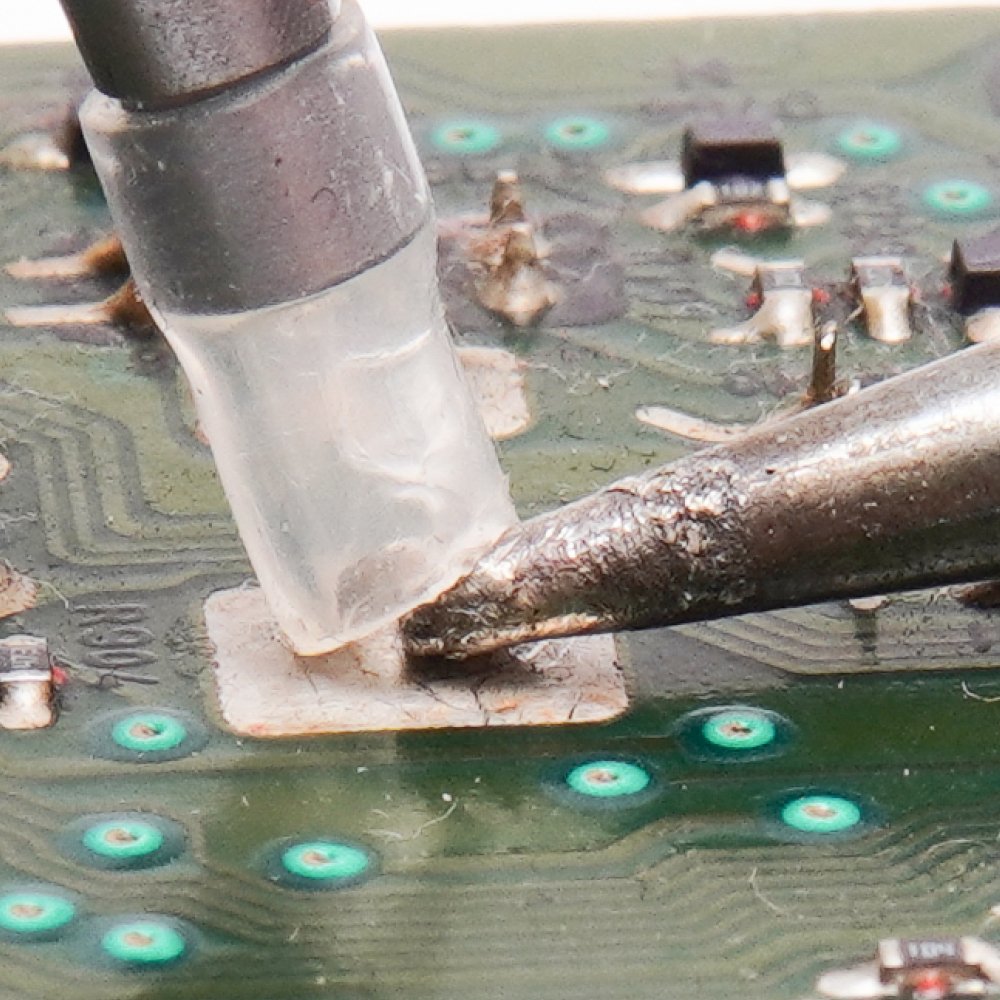
Step 6: Desolder a joint
Note: Do not use the desoldering pump to desolder joints near small surface-mounted (SMT) components. The heat spillover and suction may dislodge the SMT components.
- Prime the desoldering pump by depressing the plunger.
- Heat the solder joint until the solder is liquified. To help with heat transfer, add some solder onto the soldering iron’s tip.
- Position the pump’s nozzle as close to the molten solder as possible.
- The nozzle is made of heat-resistant plastic, so don’t worry if you occasionally brush the tip with it.
- Press the side button to activate the pump.
- Repeat the process until the joint is clean. You can also use solder wick to help soak up any remnant solder.
Note : Repeat as Necessary
Inspect the joint to ensure all the solder has been removed. If there is still solder remaining, repeat the process until the joint is free of solder. For stubborn or thick solder joints, you may need to reapply heat and use the solder sucker multiple times.
.
Step 7: Clean the desoldering pump

- To clean the pump, prime and activate the pump a few times. This pushes a rod through the nozzle and ensures that solder doesn’t block it.
- On the rare occasion when the pump needs a more thorough cleaning, you can disassemble the pump to clean it out:
- Grasp the nozzle by its knurled edge.
- Twist the nozzle counter-clockwise to unscrew it. This may be difficult due to a tight-fitting O-ring.
- Remove the nozzle and clean out the pump interior.
Tips for Using a Solder Sucker
- Work Quickly: Solder solidifies quickly, so it’s crucial to move fast when using a solder sucker. Practice makes perfect, so don’t be discouraged if your first few attempts aren’t perfect.
- Maintain Your Soldering Iron: Keep the tip of your soldering iron clean and well-maintained. A dirty or oxidized tip will not conduct heat efficiently and can make the desoldering process more difficult.
- Use the Right Temperature: Using the correct temperature for your soldering iron is vital. Too low, and the solder won’t melt properly; too high, and you risk damaging the board or components.
- Safety First: Always wear safety goggles and gloves when working with hot solder and electronic components. Burns and eye injuries are common risks when soldering.
Leave A Comment